viper 5706v installation manual pdf

Welcome to the Viper 5706V Installation Manual, your comprehensive guide to understanding and installing your new remote start and security system․ This manual provides step-by-step instructions, wiring diagrams, and troubleshooting tips to ensure a smooth and successful installation․ Whether you’re a professional installer or a DIY enthusiast, this manual will help you maximize the features and performance of your Viper 5706V system․
Overview of the Viper 5706V System
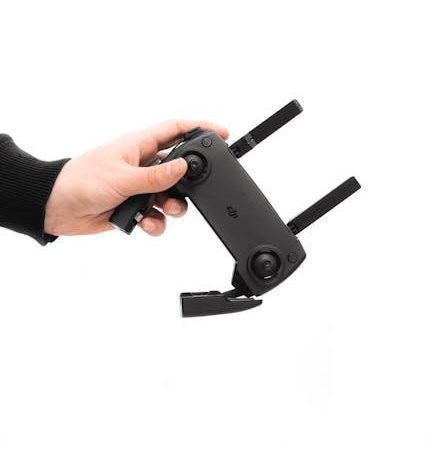
The Viper 5706V is a state-of-the-art remote start and security system designed for vehicle protection and convenience․ It features a 2-way LCD remote with a 1-mile range, offering real-time feedback on your car’s status․ The system includes advanced security sensors, remote start functionality, and compatibility with various vehicle types․ Its sleek design and user-friendly interface make it a popular choice for car owners seeking reliable security and convenience solutions․
Key Features and Benefits of the Viper 5706V
The Viper 5706V offers a 2-way LCD remote for real-time system feedback, a 1-mile range for extended control, and advanced security features like impact detection and anti-theft alerts․ It supports remote start functionality, including compatibility with manual and automatic transmissions․ The system also features programmable options for customizing settings, such as virtual tach and MTS mode, ensuring a seamless integration with your vehicle’s electrical system․ Its robust design and user-friendly interface provide enhanced convenience and peace of mind for vehicle owners․

System Requirements and Compatibility
The Viper 5706V is compatible with most vehicles, requiring basic electrical system access and specific hardware for installation․ Ensure your vehicle meets the system’s software and hardware specifications for optimal performance․
Vehicle Compatibility for the Viper 5706V
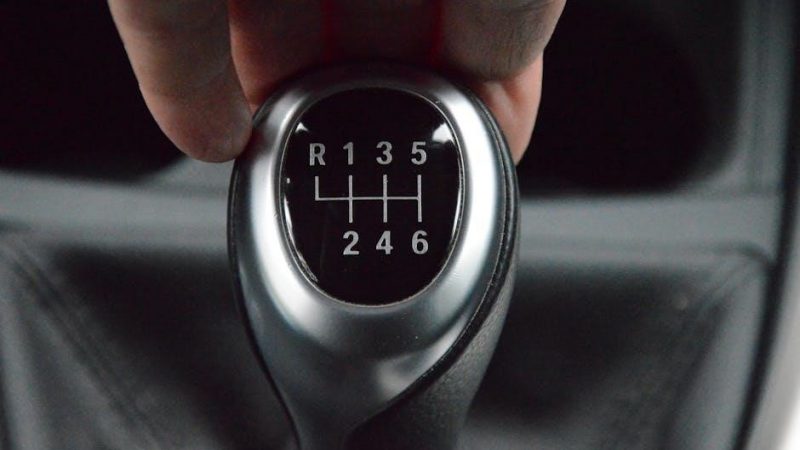
The Viper 5706V is designed to be compatible with most vehicles, including domestic and imported models․ It supports both automatic and manual transmission vehicles, with specific settings required for manual transmissions, such as enabling MTS Mode․ Ensure your vehicle’s electrical system meets the necessary specifications for remote start functionality․ Refer to the manual for detailed compatibility lists and installation requirements for your specific vehicle make and model to ensure proper operation and avoid potential issues․
Hardware and Software Requirements
The Viper 5706V requires specific hardware, including a control module, sensors, wiring, and a remote control․ Software-wise, ensure compatibility with your vehicle’s electrical system․ Key features like Virtual Tach and MTS Mode must be programmed correctly, especially for manual transmissions․ Refer to the manual for detailed hardware and software specifications to ensure seamless integration with your vehicle’s systems and optimal performance of remote start and security functions․

Pre-Installation Checklist
Review vehicle compatibility, gather tools, and ensure all components are included․ Verify wiring diagram understanding and system requirements before starting the installation process․
Tools and Materials Needed
To install the Viper 5706V, you’ll need basic tools like screwdrivers, wire strippers, and crimpers․ Additional materials include electrical tape, connectors, and a wiring diagram․ Ensure all components, such as the control module, sensors, and remotes, are included in the kit․ Refer to the manual for specific requirements to avoid delays during installation․
Understanding the Wiring Diagram
The wiring diagram is a critical component of the Viper 5706V installation process․ It provides a visual representation of how each wire connects to your vehicle’s electrical system․ Color-coded wires indicate specific functions, such as power, ground, and ignition inputs․ Carefully review the diagram to identify connections for remote start, security, and sensor inputs․ Ensure all wires are properly matched to avoid installation errors․ Refer to the manual for detailed explanations of each connection and its purpose․
Installation Process
The Viper 5706V installation process is systematic, with clear step-by-step instructions and wiring diagrams․ Ensure all components are connected correctly, following the manual’s guidance for a seamless setup․
Step-by-Step Installation Guide
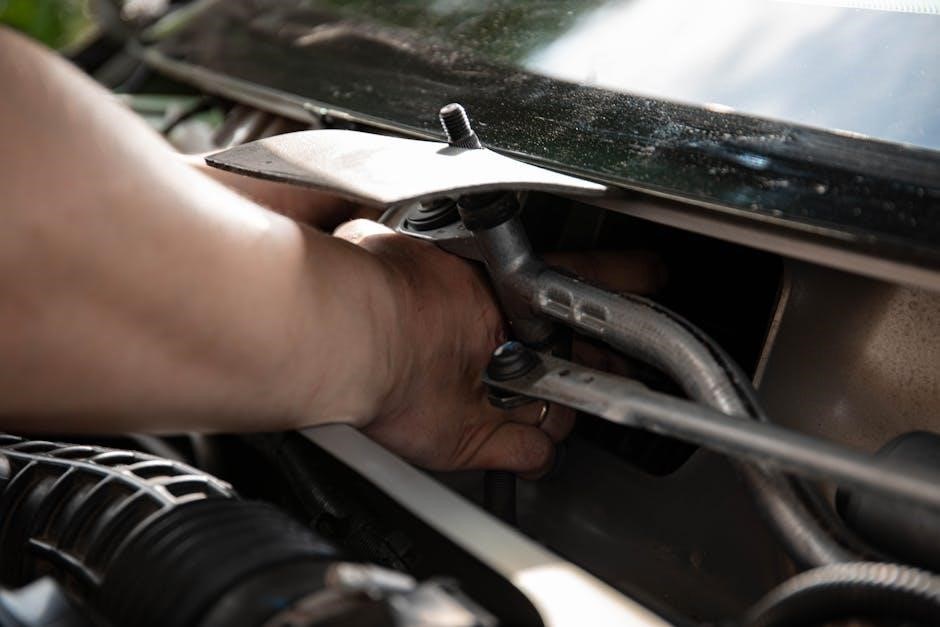
Begin by disconnecting the vehicle’s battery to ensure safety․ Mount the control module in an accessible location, then connect the wiring harness according to the diagram․ Install sensors, such as door and hood triggers, ensuring proper alignment․ Connect the remote start and security features, following the manual’s wiring guide․ Test each function, including remote start and alarm triggers, to confirm proper operation․ Refer to the wiring diagram for specific connections and adjustments․ Complete the installation with final system testing to ensure all features work seamlessly․
Mounting the Control Module and Sensors
Mount the control module in a secure, dry location, ensuring easy access for future adjustments․ Use screws or adhesive mounts to fix it in place․ Install door, hood, and trunk sensors according to the wiring diagram, ensuring proper alignment and sensitivity․ Adjust sensor angles for optimal performance and secure them firmly to prevent movement․ Connect all sensor wires to the control module, verifying connections for accuracy․ Finally, test each sensor to ensure proper functionality and adjust as needed for reliable operation․

Wiring and Connections
Refer to the wiring diagram for precise connections․ Connect the control module to the vehicle’s electrical system, ensuring secure wiring to power, ground, and accessory circuits․

Connecting the System to the Vehicle’s Electrical System
Connect the Viper 5706V control module to your vehicle’s electrical system by identifying the appropriate wires in the wiring harness․ Attach the positive (red) wire to the vehicle’s battery terminal and the negative (black) wire to a grounded metal surface․ Connect the ignition wire (yellow) to the vehicle’s ignition switch circuit and the accessory wire (red/white) to the accessory power source․ Ensure all connections are secure and verify proper system functionality after installation․
Programming the Remote Start and Security Features
Program the remote start and security features by entering the system’s programming mode․ Press and hold the remote’s “lock” button until the LED flashes․ Test the remote start by pressing the “start” button and verifying engine crank․ For security features, arm the system and test the impact sensor and shock sensor sensitivity․ Ensure all functions operate correctly and adjust settings as needed․ Refer to the manual for specific programming sequences and troubleshooting tips to ensure optimal performance․

Advanced Features and Settings
The Viper 5706V offers advanced features like Virtual Tach and MTS Mode for enhanced performance․ Configure these settings to optimize your system for specific vehicle requirements and preferences․
Configuring the Virtual Tach and MTS Mode
To configure the Virtual Tach, remote start the engine after installation․ The system may require up to three cranks to synchronize with your vehicle’s tachometer․ For manual transmissions, enable MTS Mode to prevent false starts during remote starts․ Adjust settings according to your vehicle’s specifications for optimal performance and security․ Follow the manual’s guidelines to ensure proper configuration and avoid system malfunctions․
Setting Up the LCD Remote and Additional Sensors
Pair your LCD remote by turning the ignition to the “Run” position and pressing the remote’s buttons to synchronize with the system․ Ensure the remote displays proper communication with the vehicle․ For additional sensors, mount them in optimal locations to maximize coverage․ Refer to the manual for specific wiring and placement instructions․ Test all features, including the remote start and security functions, to ensure proper operation and integration with your vehicle’s systems․

Troubleshooting Common Issues
Common issues include remote start failures, sensor malfunctions, or system errors․ Check wiring connections, ensure proper battery voltage, and verify sensor alignment․ Refer to the manual for diagnostic codes and reset procedures to resolve these problems effectively and restore system functionality․
Diagnosing Installation Problems
Diagnosing installation issues with the Viper 5706V involves checking wiring connections, battery voltage, and sensor alignment․ Ensure all wires are securely connected and match the wiring diagram․ Test the battery terminals for cleanliness and tightness․ Check sensors for proper mounting and alignment, ensuring no obstructions․ Test sensors by triggering them to verify functionality․ If issues persist, consult the manual for reset procedures or firmware updates․ Contact customer support for additional troubleshooting assistance if needed․
Resolving Common Errors and Malfunctions
Common issues during Viper 5706V installation include incorrect wiring connections, sensor misalignment, or firmware glitches․ Start by verifying all wires match the wiring diagram and ensure secure connections․ Check sensors for proper alignment and test their functionality․ If the system fails to respond, reset the control module or update the firmware to the latest version․ For persistent errors, consult the troubleshooting section or contact customer support for further assistance․

Maintenance and Updates
Regularly inspect wiring and sensors to ensure proper function․ Update firmware via the official website for enhanced features and performance․ Refer to the manual for detailed procedures․
Regular Maintenance Tips
Perform routine inspections of the wiring, sensors, and remote controls to ensure optimal performance․ Clean sensors and connections to avoid interference․ Replace batteries in remotes when necessary․ Check the system’s firmware for updates and install them as directed in the manual․ Regularly test the remote start and security features to confirm functionality․ For advanced systems, consult a professional for periodic checks to maintain reliability and security․
Updating the System Firmware
To ensure your Viper 5706V system performs optimally, regular firmware updates are essential․ Download the latest firmware from the official Directed Electronics website․ Connect the system to your computer using a compatible interface, following the manual’s instructions․ Run the update utility and carefully follow the on-screen prompts․ Avoid interrupting the process to prevent system corruption․ After completion, test all features to confirm proper functionality․ Refer to the manual for detailed steps and troubleshooting guidance if issues arise during the update process․

With the Viper 5706V installation complete, your system is now fully operational․ Perform final checks to ensure all features function correctly for optimal performance and security․
Final Checks and System Testing
After completing the installation, conduct thorough tests to ensure the Viper 5706V system operates correctly․ Start by testing the remote start, confirming the engine starts and stops as expected․ Trigger the alarm to verify all sensors activate properly․ Check the LCD remote’s functionality and ensure any additional sensors, like tilt, are calibrated and working․ Finally, take a test drive to confirm smooth operation without interference․ If all features perform seamlessly, the installation is successful․
Resources for Further Assistance
For additional support, refer to the official Viper 5706V Installation Manual PDF, available for free download․ Directed Electronics offers comprehensive guides and troubleshooting tips on their website․ Visit forums like Reddit or specialized car security groups for installer experiences and advice․ Contact Directed Support directly for technical queries․ Authorized retailers also provide assistance for system-specific needs․ Ensure all resources are from trusted sources to maintain system integrity and performance․