viking self cleaning oven instructions
Discover how to effectively use and maintain your Viking oven’s self-cleaning feature. This guide provides step-by-step instructions for optimal performance‚ ensuring a clean and efficient cooking experience.

1.1 Understanding the Self-Cleaning Feature
The Viking self-cleaning oven uses high temperatures to burn off food residue‚ leaving a light ash that’s easy to wipe away; This feature eliminates the need for harsh chemicals‚ making cleaning safer and more efficient. The process involves removing racks and utensils before initiating the cycle. An integral smoke eliminator reduces odors during the process. Understanding how this feature works ensures proper use and maintenance‚ keeping your oven in prime condition for years to come.
1.2 Importance of Regular Maintenance
Regular maintenance is crucial for your Viking oven’s self-cleaning feature to function effectively. Neglecting upkeep can lead to grease buildup‚ which may cause malfunctions or unpleasant odors. Consistently cleaning the exterior and ensuring the interior remains free from debris prevents damage and ensures optimal performance. By following a routine maintenance schedule‚ you can extend the lifespan of your oven‚ maintain hygiene‚ and ensure safety during cooking and cleaning cycles. This dedication to upkeep guarantees your Viking oven continues to deliver exceptional results year after year.
Preparing for the Self-Cleaning Cycle
Remove racks‚ utensils‚ and large debris. Wipe excessive spills to prevent smoke. Ensure the oven is empty and ready for the high-heat cleaning process safely.
2.1 Removing Oven Racks and Utensils
Before initiating the self-cleaning cycle‚ remove all oven racks‚ broiler pans‚ and utensils. This prevents damage during high-heat cleaning. Avoid using abrasive cleaners on racks; instead‚ wash them with soap and water. Ensure the oven cavity is clear of any cookware or accessories to allow proper airflow and even cleaning. Failure to remove these items may result in damage or discoloration. Always refer to your Viking oven’s manual for specific instructions on preparing for the self-cleaning process.
2.2 Cleaning Before the Self-Cleaning Cycle
Before starting the self-cleaning cycle‚ wipe down the oven interior to remove excessive food residue. Use a damp cloth to eliminate loose particles‚ which helps reduce smoke and odor during cleaning. For tougher spots‚ apply a mixture of soap and warm water. Avoid using harsh chemicals‚ as they can damage the oven’s finish. Ensure all racks and utensils are removed‚ as high heat can damage them. Cleaning beforehand ensures the self-cleaning process is more effective and prevents stubborn stains from forming.
2.3 Safety Precautions
Always follow safety guidelines when using the self-cleaning feature. Ensure the oven door is completely closed to avoid exposure to high heat and fumes. Keep children and pets away during the cycle. Never use harsh chemicals‚ as they can release toxic fumes when heated. Avoid leaving the oven unattended while it is in self-cleaning mode. Proper ventilation is crucial to prevent smoke and odor buildup. Ensure the oven is empty of racks and utensils before starting the cycle to prevent damage or fire hazards. Follow all manufacturer instructions to ensure a safe and effective cleaning process.

Initiating the Self-Cleaning Process
Close the oven door completely‚ turn the selector knob to the self-clean mode‚ and set the temperature as instructed. Ensure the oven is empty and prepared for cleaning.
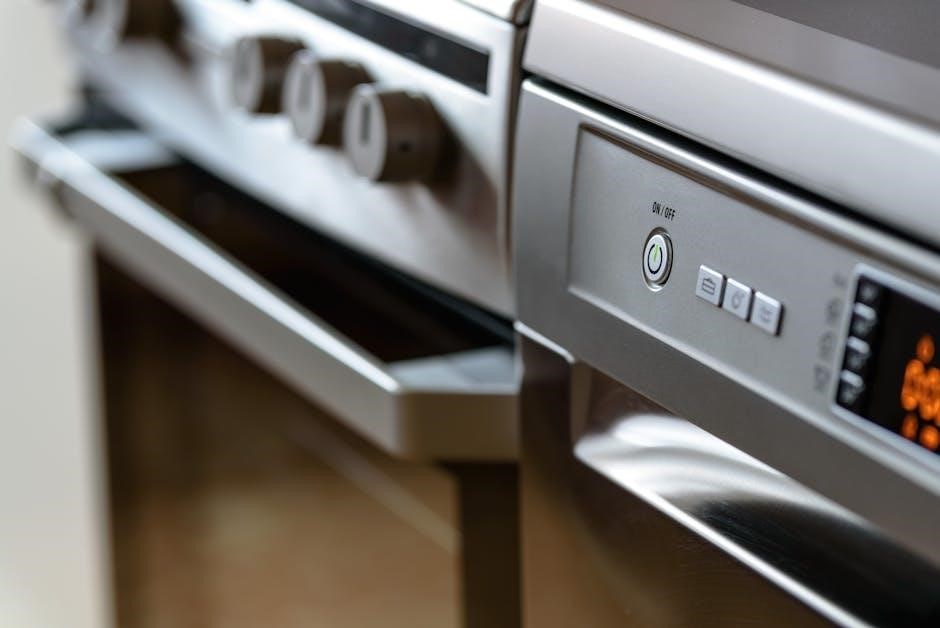
3.1 Setting the Oven to Self-Clean Mode
To activate the self-cleaning mode‚ ensure the oven door is fully closed. Locate the oven function selector knob and rotate it clockwise to the self-clean setting. Once selected‚ the display will prompt you to choose the cleaning duration or temperature. Follow the on-screen instructions to confirm your selection. The oven will automatically lock the door during the cycle to ensure safety. Always refer to the Use and Care Manual for specific model instructions to avoid any malfunctions or damage during the process. Properly setting the mode is crucial for effective cleaning and maintaining your oven’s performance.
3.2 Monitoring the Cleaning Cycle
Once the self-cleaning cycle begins‚ the oven door will automatically lock‚ and high temperatures will burn off food residue. Monitor the cycle through the oven’s display‚ which shows progress and remaining time. Avoid interrupting the cycle‚ as this may damage the oven or leave residue. Keep the kitchen well-ventilated to minimize odors. After completion‚ allow the oven to cool before opening the door. Ensure the cycle has finished and the oven is safe to handle. Proper monitoring ensures effective cleaning and prevents potential hazards or incomplete results.

Post-Cleaning Procedures
After the cycle‚ let the oven cool completely before opening. Wipe the interior with a damp cloth to remove ash. Avoid harsh chemicals for a safe finish.

4.1 Allowing the Oven to Cool
Once the self-cleaning cycle completes‚ turn off the oven and let it cool completely. This step is crucial as the interior will remain extremely hot. Opening the door before cooling can release harmful fumes and may damage the oven’s finish. Keep the oven door closed until it returns to room temperature. This ensures safety and prevents any potential damage to the appliance or its components. Always prioritize caution to avoid burns or other accidents during this process.
4.2 Wiping Down the Oven Interior
After the oven has cooled completely‚ use a damp cloth to wipe down the interior surfaces. This removes any remaining ash or residue from the self-cleaning cycle. Avoid using harsh chemicals‚ as they can damage the finish. For tougher spots‚ a soft scrubber or soap-filled steel wool pad can be used gently. Dry the surfaces with a clean‚ microfiber cloth to prevent water spots. Regular wiping helps maintain the oven’s appearance and ensures optimal performance for future cleaning cycles.
Troubleshooting Common Issues
Address common problems like a malfunctioning self-cleaning cycle or lingering odors. Check power supply‚ ensure door seals are tight‚ and proper ventilation to resolve these issues effectively.
5.1 Malfunctioning Self-Cleaning Cycle
If the self-cleaning cycle isn’t working‚ ensure the oven door is completely closed and latched. Check the power supply and circuit breaker. Verify the oven selector knob is correctly set to the self-clean mode. Excessive food residue or improper rack placement can disrupt the cycle. Consult the user manual for specific error codes or reset procedures. If issues persist‚ contact Viking customer support for professional assistance to resolve the malfunction effectively and safely.
5.2 Lingering Odors After Cleaning
Lingering odors after a self-cleaning cycle can be addressed by ensuring proper ventilation. Open windows and use an exhaust fan during and after the cycle. If odors persist‚ wipe the oven interior with a mixture of water and baking soda. Avoid using harsh chemicals‚ as they can leave residues. For stubborn smells‚ run a short self-clean cycle or bake a lemon wedge at 350°F for 30 minutes. Always follow the manufacturer’s guidelines to eliminate odors safely and effectively.
Maintenance Tips for Optimal Performance
Regularly clean the exterior with a soft cloth and mild detergent. Avoid harsh chemicals and abrasive cleaners that may damage the finish. Check for grease buildup and ensure racks are clean before use to maintain your Viking oven’s performance and longevity.

6.1 Regular Cleaning of Exterior Surfaces
Keep your Viking oven’s exterior surfaces clean by using a soft cloth and mild detergent. Avoid harsh chemicals or abrasive cleaners‚ as they may damage the finish. Regular wiping helps maintain the appearance and prevents grease buildup. For tougher spots‚ a mixture of warm water and gentle soap works well. Always dry the surface with a microfiber cloth to avoid streaks and water spots. Cleaning after each use prevents residue from accumulating‚ ensuring your oven remains pristine and functional. This simple maintenance routine enhances durability and keeps your appliance looking like new.
6.2 Avoiding Harsh Chemicals
Avoid using harsh chemicals‚ abrasive cleaners‚ or scrubbers on your Viking oven’s exterior‚ as they can damage the finish or discolor surfaces. Instead‚ opt for mild detergents and soft cloths to clean exterior surfaces. This prevents damage and maintains the oven’s aesthetic appeal. Never use oven cleaners‚ as they can release harmful fumes or leave residue. Stick to gentle cleaning products specifically designed for appliance care to ensure longevity and preserve the warranty. Regular‚ gentle maintenance keeps your Viking oven looking its best without risking damage.
By following these Viking self-cleaning oven instructions‚ you can maintain your appliance’s performance and appearance. Regular maintenance‚ avoiding harsh chemicals‚ and proper use of the self-cleaning feature ensure a clean and efficient oven. Remember to always refer to your owner’s manual for model-specific guidance. With consistent care‚ your Viking oven will deliver exceptional results for years to come‚ making cooking and cleaning a hassle-free experience.